How to lay out patio flooring
This is an article from David at Direct Tile Warehouse.
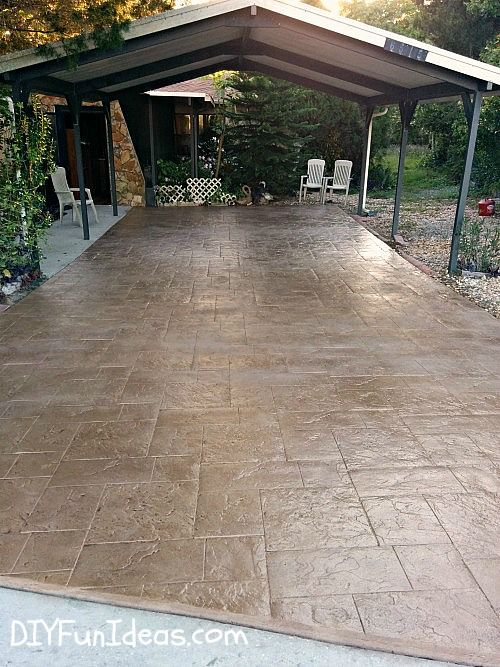
Laying patio floor tiles is a great way to turn your garden into a gathering space. Gone are the days when they were only available in certain styles. Nowadays, thanks to the advances in how they are manufactured, they can be purchased in a variety of shapes, sizes and colors. This article gives you a step-by-step guide to laying patio floor tiles.
Before you begin
Before you start placing your tiles, you should first check that the concrete is clean and in good condition. If the concrete is not in good condition, use a concrete cleaner and scrub brush to remove any grease, dirt or debris that may remain on the surface. When you have done that, make sure that the concrete is dry.
After the concrete has dried
Now that the concrete has dried, examine the surface for any uneven areas. Uneven areas can cause your tiles to move and crack. That is why it is of utmost importance to make sure the surface is flat. Use a breathing level to check for deficiencies and mark uneven spots as you walk. You can then use a concrete level to repair the marked surfaces.
Seal the concrete
Once the repaired areas have completely dried, seal the surface area with a good sealer. You should be able to find a sealer in your local home improvement store. Sealing the concrete provides a more friendly surface for your mortar and allows the tiles to stick together. Effective sealing also prevents moisture from developing between the tiles and the concrete.
Mix only small amounts of mortar at a time
When buying mortar, make sure you choose one that is specifically designed for outdoor surfaces. Follow the manufacturer's instructions, mix enough mortar to add just five or six washers. The reason for this is because mortar goes extremely fast and until you get it, you will have difficulty removing the tiles before the mortar is inserted. Once the mortar is set, it is essentially useless and must be removed. The task is made much easier if you take things slowly and only mix small amounts at a time.
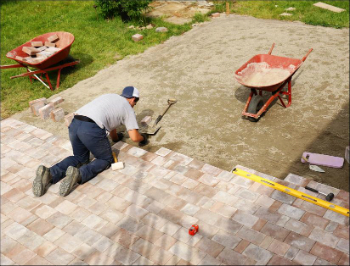
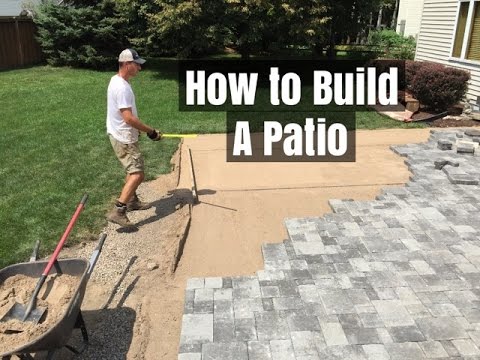
Covers the patio floor
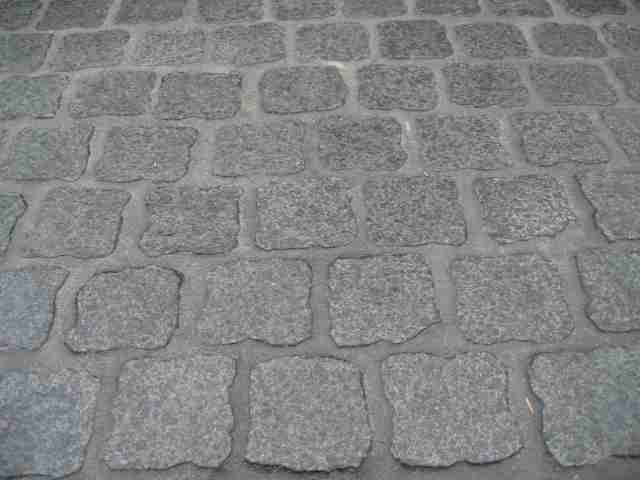
Covering the patio floor is a much easier task than tiling a room; This is because you can adjust the end point, which means you don't have to go through the tricky process of cutting your tiles. If you have to cut your tiles, cut them into an area that will not be noticed. If you use square tiles, select all four sides of the tray as well as the center.
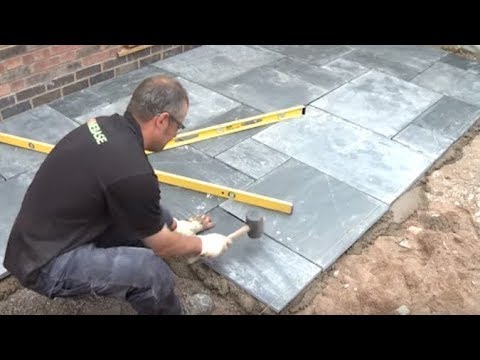
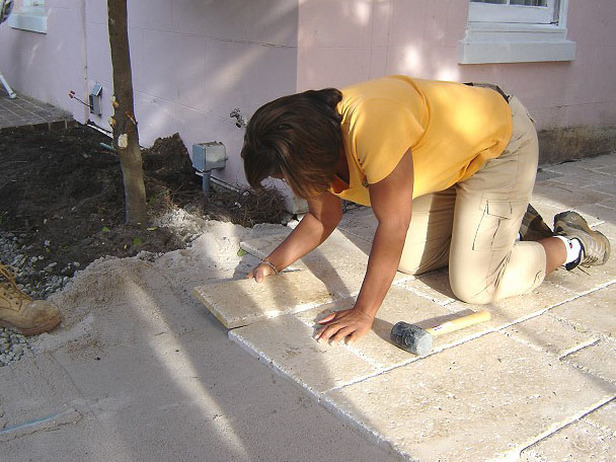
Put the trays
Place a chalk line that goes all the way across the concrete pad and crosses in the middle. Once you've done that, start laying your trays from the middle and work your way up to the edge of the pad. It is important to use the chalk line as it will be your guide to keeping the plates straight.
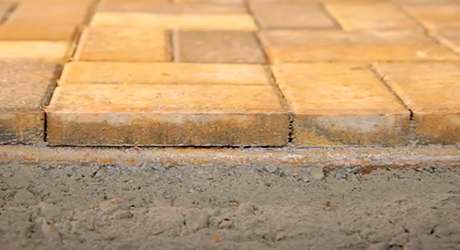
As you lay the plate, start with your center mark and use the distance between each tile as you go. This ensures that you place them in a straight line and that an equal space is kept between each tile. Unless you are 100% sure that a tile is placed correctly, do not leave it! It is important that every tile is placed correctly to adjust it, it can completely skew the rest of the tiles.
The reason for returning to adjust a tile can affect the other tiles is because it was the specific tile that you worked with as you progressed. Clean the washers one by one as you walk, saving significant cleaning time later. Do not use lots of water; a damp cloth is enough to do the trick.
When the mortar has dried
When the mortar has completely dried, you can start applying the grout between the washers. The injection device should be used according to the instructions on the package. Spread a generous amount of grout over the surface of the plate using a grout and ensure that each crack is covered.
Continue doing this until you are satisfied that all cracks have been cast evenly. When you are done injecting the cracks, use a damp, non-abrasive cloth to remove the excess from the syringes. Be extra careful not to remove any of the grout from the washers. Once the grout has been set, repeat the process so that all cracks are filled evenly. Finally, wipe the plates to remove any excess.